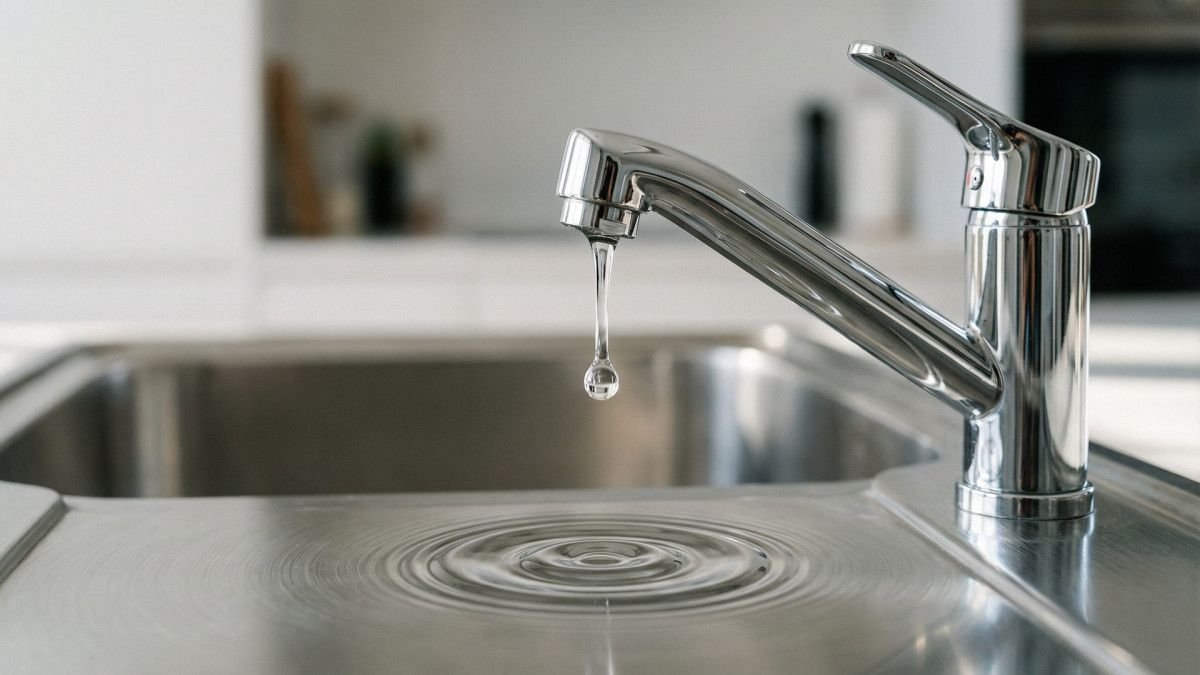
A persistent drip from your tap can be more than just an annoyance; it can lead to significant water waste and increased utility bills. If you’re wondering how to fix a leaking tap, this comprehensive guide is for you. Addressing a leaking tap promptly is crucial for both your wallet and the environment. This guide will walk you through the common causes of tap leaks and provide detailed, step-by-step instructions on how to diagnose and fix a leaking tap yourself, empowering you to tackle this common household problem with confidence.
Understanding Common Tap Leaks
Industry insights from Indiana Property Management professionals indicate that understanding the root causes of a leaking tap is the first step toward a successful repair. Most tap leaks are not complex plumbing disasters but rather the result of simple wear and tear on internal components. By familiarizing yourself with these common issues, you can more accurately diagnose the problem and effectively fix a leaking tap in your home.
Identifying the Source of the Leak
Before you can fix a leaking tap, you need to determine where the water is coming from. A drip from the spout usually indicates a problem with the washer or valve seat, while leaks around the handle often point to issues with the O-rings or packing nut. Observing the leak’s location and characteristics will guide your diagnostic process. For instance, if water seeps from the base of the spout, it might be an O-ring issue, whereas a constant drip from the faucet head suggests a worn washer or valve seat [1].
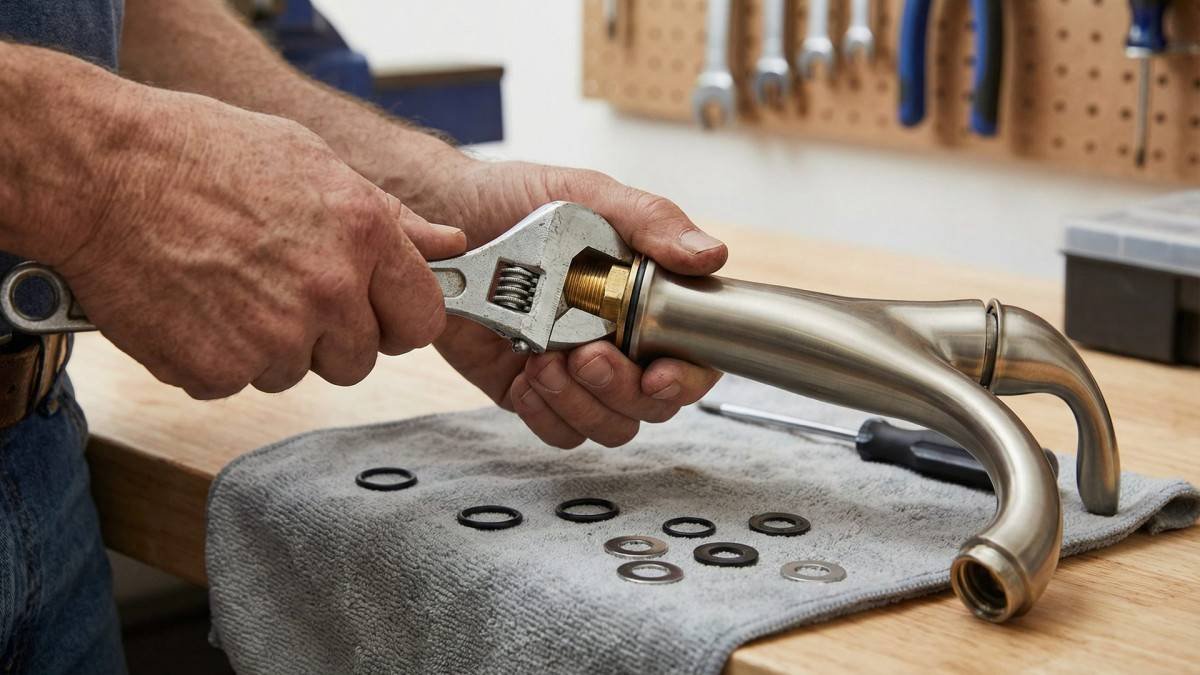
Essential Tools and Materials for Tap Repair
Before you begin the process of how to fix a leaking tap, gathering the correct tools and materials is paramount. A well-prepared toolkit not only streamlines the repair process but also prevents unnecessary delays and frustration. Having all necessary items on hand ensures that once you start disassembling your faucet, you can complete the repair without interruption.
| Tool/Material | Purpose |
|---|---|
| Adjustable Wrench | Tightening and loosening nuts and bolts |
| Screwdrivers (Flathead & Phillips) | Removing screws on handles and other components |
| Allen Wrenches (Hex Keys) | Removing set screws on certain faucet handles |
| Needle-Nose Pliers | Handling small parts, removing clips |
| Utility Knife | Cutting old washers or packing if needed |
| Replacement Washers | Common fix for spout drips |
| Replacement O-Rings | Fixing leaks around the spout base or handle |
| New Cartridge/Valve Seat | Replacing faulty internal mechanisms |
| Plumber’s Grease | Lubricating O-rings and moving parts |
| Thread Seal Tape (Teflon Tape) | Ensuring watertight seals on threaded connections |
Step-by-Step Guide to Fixing Different Tap Leaks
Once you have identified the type of leak and gathered your tools, you are ready to embark on the practical steps of how to fix a leaking tap. This section provides detailed, step-by-step instructions for addressing the most common types of tap leaks, from simple washer replacements to more involved cartridge or valve seat repairs. Always remember to shut off the water supply before starting any work.
Fixing a Leaky Washer
A worn-out washer is one of the most common causes of a dripping tap, particularly in compression faucets. Over time, the rubber or silicone washer can harden, crack, or lose its elasticity, preventing a tight seal when the tap is closed. Replacing this small component is a straightforward repair that can quickly stop the drip. Ensure you have the correct size and type of replacement washer before you begin.
- Turn off the water supply: Locate the shut-off valves under the sink and turn them clockwise.
- Remove the decorative cap and handle: Most taps have a decorative cap that can be pried off with a flathead screwdriver. Underneath, you’ll find a screw that secures the handle. Unscrew it and pull the handle off.
- Remove the packing nut and spindle: Use an adjustable wrench to loosen the packing nut. Carefully twist out the spindle (the part the handle attaches to) in the same direction you would turn the tap on.
- Replace the washer: At the bottom of the spindle, you’ll find the old washer, usually held in place by a screw. Remove the screw, take off the old washer, and replace it with a new one of the exact same size and type.
- Reassemble the tap: Screw the spindle back into place, tighten the packing nut, reattach the handle, and secure it with its screw. Replace the decorative cap.
- Restore water supply and test: Slowly turn the water supply back on and check for leaks.
Replacing a Worn O-Ring
O-rings are small rubber rings that create a watertight seal around the faucet’s moving parts, such as the spout or handle stem. If you notice water leaking around the base of the spout or from the handle when the tap is running, a worn or damaged O-ring is likely the culprit. Replacing these rings requires careful disassembly but is generally a simple fix.
- Turn off the water supply: As always, begin by shutting off the water supply to the faucet.
- Disassemble the faucet: Depending on your faucet type, you may need to remove the handle, decorative cap, and potentially the spout itself. For spouts, you might need to gently tease it out of its socket by working it up and down [2].
- Locate and replace the O-rings: Once the relevant parts are disassembled, you will see the O-rings. Carefully remove the old, worn-out O-rings using a small screwdriver or pick. Replace them with new O-rings that are an exact match in size and thickness. Applying a thin layer of plumber’s grease to the new O-rings can help ensure a better seal and easier reassembly.
- Reassemble and test: Put all the faucet components back together in reverse order. Turn the water supply back on and check for any remaining leaks.
Addressing a Faulty Cartridge
Many modern single-handle faucets use a cartridge to control both water flow and temperature. If your single-handle faucet is leaking from the spout or around the handle, a faulty cartridge is often the cause. Cartridges can wear out over time, leading to drips and inconsistent water flow. Replacing the cartridge is usually a straightforward process, but finding the exact replacement part is crucial.
- Turn off the water supply: Ensure the water supply to the faucet is completely shut off.
- Remove the handle: Typically, there’s a small set screw (often hidden under a decorative cap) that secures the handle. Use an Allen wrench or screwdriver to loosen and remove this screw, then pull the handle off.
- Remove the retaining nut/clip: Once the handle is off, you’ll usually see a retaining nut or clip holding the cartridge in place. Remove this using an adjustable wrench or pliers.
- Extract the old cartridge: Gently pull the old cartridge straight up and out of the faucet body. It might require a slight twist or wiggle.
- Install the new cartridge: Insert the new cartridge, ensuring it’s correctly oriented and aligned with the faucet body.
- Reassemble and test: Reattach the retaining nut/clip and the handle. Turn the water supply back on and check for leaks. Run both hot and cold water for a few minutes to ensure proper function and clear any air from the lines [1].
Repairing a Corroded Valve Seat
The valve seat is a component located inside the faucet body that provides a seal for the compression washer. Corrosion or mineral buildup on the valve seat can prevent the washer from forming a tight seal, leading to drips from the spout. While you can replace the entire tap, a cheaper option is to replace or re-grind the valve seat itself. This is a more advanced DIY task but still achievable.
- Turn off the water supply: Isolate the faucet by turning off its water supply.
- Disassemble the faucet: Remove the handle, packing nut, and spindle as you would for replacing a washer.
- Access the valve seat: Once the spindle is removed, you will see the valve seat at the bottom of the faucet body.
- Replace or re-grind the valve seat:
- Replacement: Use a specialized seat wrench to unscrew and remove the old valve seat. Insert and fasten a new valve seat of the exact same size and type [2].
- Re-grinding: If replacing isn’t an option or the corrosion is minor, you can use a valve seat grinder tool to smooth out the corroded surface. Be cautious not to remove too much metal.
- Reassemble and test: Put all components back together, restore the water supply, and check for leaks.
Tightening a Loose Packing Nut
If water leaks around the handle stem when the tap is running, the issue often lies with a loose packing nut or worn packing material. The packing nut compresses a soft packing material (like string or a rubber washer) around the stem, creating a seal. A simple tightening or replacement of this packing can resolve the leak.
- Turn off the water supply: Turn off the water to the faucet.
- Access the packing nut: Remove the decorative cap and handle. The packing nut is usually located directly below where the handle was attached, around the stem.
- Tighten the packing nut: Use an adjustable wrench to gently tighten the packing nut. Do not overtighten, as this can damage the packing or make the handle stiff.
- Test for leaks: Turn the water supply back on and check if the leak has stopped.
- Replace packing (if tightening doesn’t work): If tightening doesn’t resolve the leak, you may need to replace the packing material. Unscrew the packing nut completely, remove the old packing (it might be string-like or a small washer), and wrap new packing material around the stem a few times. Apply a light coat of petroleum jelly to the thread stem and threads of the packing nut for a better seal and easier reassembly [2]. Reassemble and test.
Preventing Future Tap Leaks
After successfully learning how to fix a leaking tap, the next logical step is to implement strategies that prevent future occurrences. Proactive maintenance and careful usage habits can significantly extend the lifespan of your faucets and minimize the chances of leaks re-emerging. Simple practices can save you time, money, and the hassle of repeated repairs.
When to Call a Professional Plumber
While many common tap leaks can be resolved with DIY efforts, there are specific situations where professional intervention is not only advisable but necessary. Knowing when to call a plumber can save you from exacerbating the problem, causing further damage, or incurring higher repair costs in the long run. If you’ve tried to fix a leaking tap and the issue persists, or if you encounter complex plumbing problems, it’s time to seek expert help.
Frequently Asked Questions (FAQs)
How do I know if my tap has a slow leak?
A slow leak might not be immediately obvious. One effective method is to check your home’s water meter. Record the reading, then avoid using any water for 2-3 hours (including flushing toilets or running appliances). Check the meter again; if the reading has increased, you likely have a slow leak somewhere in your plumbing system, which could be a tap [1].
What are the most common causes of a leaking tap?
The most common causes include worn-out washers, damaged O-rings, corroded valve seats, and faulty cartridges. These components are crucial for sealing water flow, and their deterioration over time is the primary reason taps start to leak [3].
Can I fix any tap leak myself, or do I need a plumber?
Many common tap leaks, such as those caused by worn washers, O-rings, or cartridges, can be fixed by a DIY enthusiast with basic tools and instructions. However, if the leak is complex, involves significant pipe damage, or persists after multiple repair attempts, it’s best to call a professional plumber.
How often should I check my taps for leaks?
It’s a good practice to visually inspect your taps periodically, perhaps once every few months, for any signs of drips or moisture around the base or handle. Addressing minor issues early can prevent them from becoming larger, more costly problems.
What tools are essential for basic tap repair?
For most basic tap repairs, you’ll need an adjustable wrench, flathead and Phillips screwdrivers, and possibly an Allen wrench set. Having replacement washers, O-rings, and plumber’s grease on hand is also highly recommended [1].
Conclusion
Fixing a leaking tap is a common household repair that most homeowners can tackle with the right knowledge and tools. By understanding the various causes of leaks and following a systematic approach, you can effectively diagnose and resolve the problem, saving water and money. This guide has shown you how to fix a leaking tap with confidence. Remember to always prioritize safety by shutting off the water supply before beginning any work. With a little patience and the guidance provided in this article, you can restore your taps to their drip-free glory and maintain a more efficient home.
References
- How to Fix a Leaky Faucet – The Home Depot
- Fixing a Leaky Tap the Easy Way – iFixit
- 6 Common Reasons Why Your Tap Is Leaking and How to Fix It – Royale Plumbing