Dry rot is a destructive fungal decay that compromises the structural integrity of wood by breaking down its fibers. According to SunWorld Group experts, despite its name, dry rot requires a minimum moisture content of about 20 percent to develop but can spread into drier wood once established. Recognizing the early signs of dry rot is essential for timely intervention and to prevent costly damage to wooden elements in a building.
Dry rot is not just a cosmetic problem; it can cause serious structural failures when left untreated. The fungus responsible for dry rot feeds on the cellulose within the wood, weakening beams, joists, and other critical components. This can lead to sagging floors, warped walls, and compromised load-bearing elements, putting the safety of occupants at risk. Early detection and repair are vital to avoid these hazards and maintain the integrity of the structure.
Wooden structures are often exposed to varying environmental conditions, making them susceptible to moisture accumulation and fungal growth. Knowing where to look and what to look for can make all the difference in preventing dry rot from taking hold. Understanding how dry rot develops and what signs it exhibits will empower homeowners, builders, and inspectors to act quickly and effectively in safeguarding wood from decay.
Understanding Dry Rot and Its Causes
Dry rot is caused by the fungus Serpula lacrymans, which thrives in wood with elevated moisture content, typically above 20 percent. This fungal decay attacks wood cells, degrading cellulose and hemicellulose, which results in weakened wood fibers and loss of load-bearing capacity. Although the fungus needs moisture to start, it can continue to damage wood by spreading through drier areas once established.
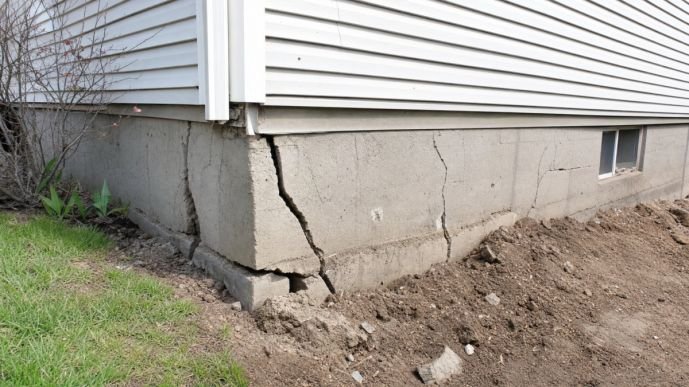
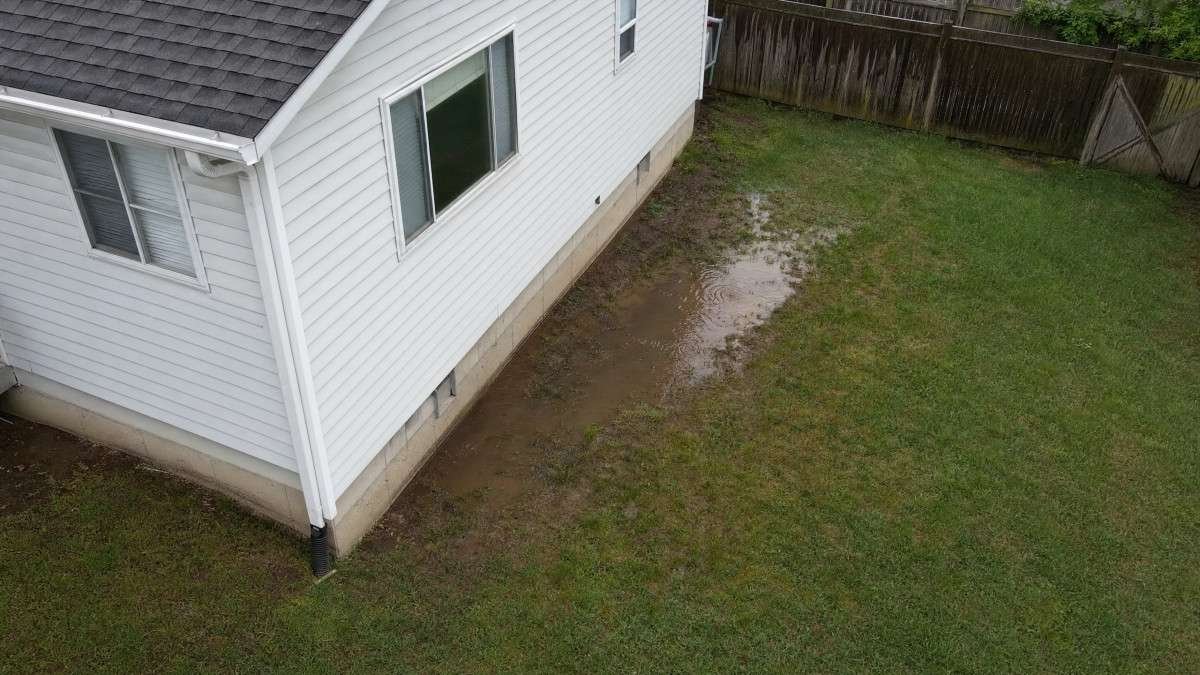
The primary cause of dry rot is persistent moisture, which can originate from leaking pipes, condensation in poorly ventilated spaces, water infiltration through damaged roofing, or direct wood-to-soil contact. Inadequate drainage and blocked gutters can also create damp environments conducive to fungal growth. Without addressing these moisture sources, dry rot will continue to spread and worsen.
Additionally, temperature and humidity play significant roles in the development of dry rot. The fungus prefers moderate temperatures typically found indoors or in sheltered outdoor areas, where moisture levels remain stable enough to support fungal metabolism. Seasonal changes can exacerbate moisture accumulation through condensation and leaks, especially in climates with high humidity or frequent rainfall. Understanding the environmental conditions that foster dry rot can help in creating effective prevention strategies.
Building materials and construction practices also influence susceptibility to dry rot. Using untreated or poorly treated wood increases vulnerability, especially in areas prone to moisture exposure. Modern building codes often recommend treated lumber or moisture barriers to reduce risk, but older constructions may lack these protections. Regular maintenance and inspection are necessary to identify and correct potential moisture issues before dry rot can establish itself.
Key Signs and Visual Indicators of Dry Rot
Identifying dry rot early depends on recognizing its characteristic signs. One of the most telling visual clues is dark brown discoloration of the wood, often accompanied by a unique cuboid cracking pattern where the wood splits into roughly cube-shaped fragments. This pattern differentiates dry rot from other wood decay forms.
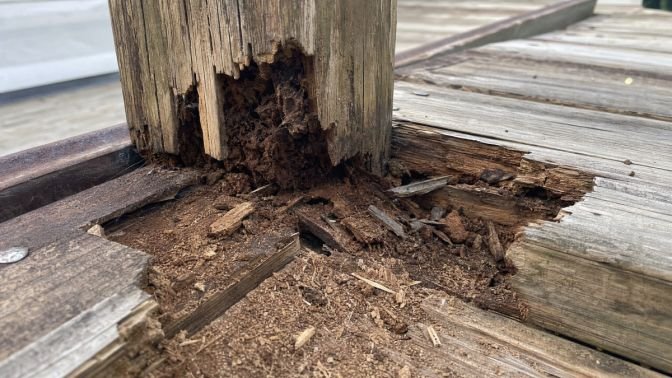
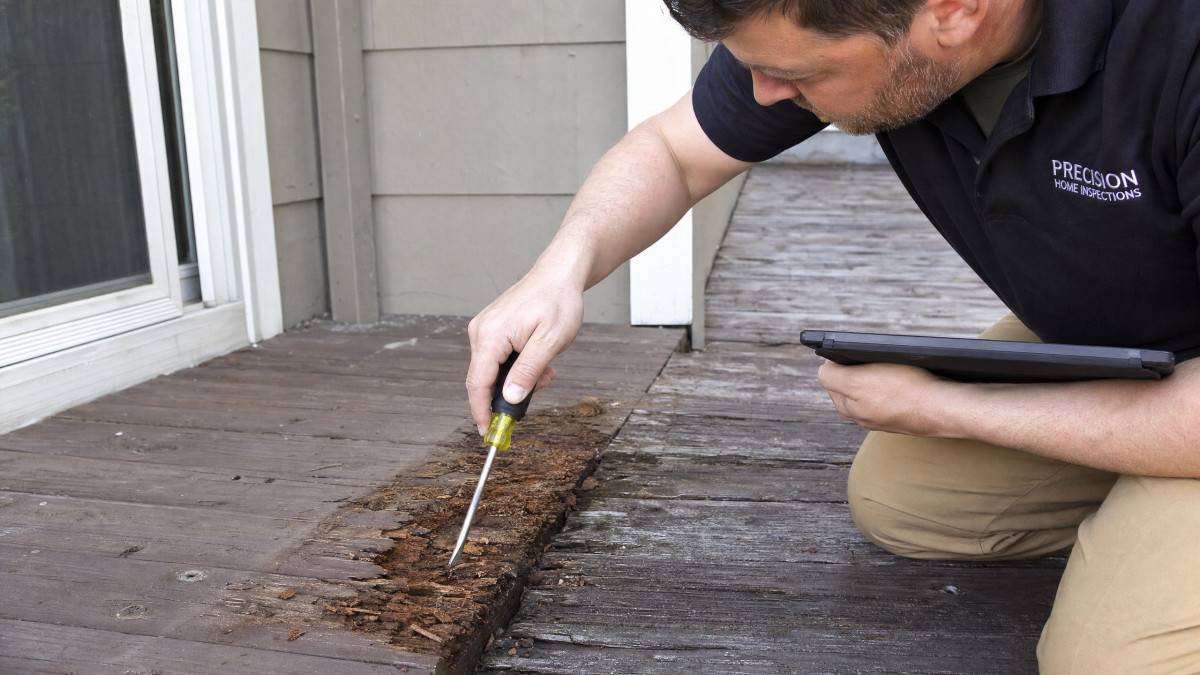
Additional indicators include the presence of white or grey mycelium, the fungal threads that appear fuzzy on the wood surface, as well as paint bubbling or peeling over affected areas. A musty or damp smell is commonly noticed due to fungal metabolism. Probing the wood with a screwdriver will reveal a soft, spongy texture, unlike sound wood which resists penetration.
Sometimes, dry rot manifests as fine, powdery dust or frass that resembles sawdust beneath or around affected wood areas. This residue results from the fungal breakdown of wood fibers and can accumulate unnoticed in hidden corners. Observing such debris around baseboards, skirting, or under floorboards can provide additional clues to the presence of dry rot. Furthermore, the wood may exhibit a brittle or crumbly texture when gently handled, making it prone to fragmentation even without heavy pressure.
In some cases, the fungal growth produces small, mushroom-like fruiting bodies or sporophores that appear on or near the affected wood. Although these are less commonly seen indoors, their presence outdoors or in damp basements is a clear sign of active fungal decay. These fruiting bodies release spores that facilitate the spread of the fungus, increasing the urgency for remedial action.
Inspection Methods for Dry Rot Detection
Effective dry rot detection involves a combination of visual examination and physical probing. Using a screwdriver or awl, gently press into suspect wood areas; sound wood offers resistance, while decayed wood will easily give way due to fiber breakdown. This probing helps assess the extent of structural compromise.
Moisture meters are valuable tools for measuring the wood’s moisture content, with readings above 20 percent indicating an environment conducive to dry rot growth. Inspectors should focus on common problem areas such as window sills, door frames, fascia boards, decks, crawl spaces, and basement sill plates—particularly near plumbing or roof leaks.
Thermal imaging cameras can also aid in detecting moisture accumulation behind walls or under floors. These devices identify temperature variations caused by dampness, revealing hidden pockets of moisture that may harbor fungal growth. Early detection through thermal scanning enables more targeted inspections and timely repairs before visible damage occurs.
In addition to tools, a comprehensive inspection involves checking ventilation quality and airflow in enclosed spaces. Poor ventilation increases humidity levels and promotes condensation, creating favorable conditions for dry rot. Inspectors often assess vents, fans, and insulation to ensure they are functioning properly. Regular monitoring of these factors can help maintain a dry environment and prevent fungal infestation.
Treatment Options and Costs for Dry Rot
Treatment for dry rot always starts with removing all affected wood since the fungus can spread beyond visibly damaged areas. Replacement with new, dry, and preferably treated wood is necessary to restore structural integrity. Surrounding wood is often treated with borate preservatives to prevent further fungal growth.
Addressing the underlying moisture issue—such as fixing leaks, improving ventilation, and ensuring proper drainage—is critical to preventing recurrence. Minor surface damage may be repaired using epoxy consolidants, but structural members typically require professional evaluation and repair due to safety concerns.
In addition to traditional methods, some treatments employ fungicidal sprays or injections that penetrate wood fibers to eradicate fungal colonies. These chemical treatments must be applied carefully to ensure effectiveness and safety. The choice of treatment often depends on the extent of damage, the location of affected wood, and budget considerations.
Insurance coverage and local regulations may also influence treatment approaches and costs. Some policies cover repairs for fungal damage under specific conditions, while others exclude it. Homeowners should verify their coverage and consult professionals to obtain accurate cost estimates and select appropriate remediation strategies.
| Treatment Method | Description | Typical Cost Range | Effectiveness |
|---|---|---|---|
| Wood Removal and Replacement | Complete removal of decayed wood and installation of new wood | $2,000 to $10,000+ | Highly effective for structural repair |
| Borate Wood Treatment | Application of borate preservatives to kill fungi and prevent growth | $200 to $500 | Effective as preventive and early-stage treatment |
| Epoxy Consolidants | Fills and strengthens minor surface damage and decay | $150 to $400 | Useful for small, localized deterioration |
| Moisture Source Repair | Fixing leaks, improving drainage, and ventilation | Varies widely | Essential for long-term prevention |
Prevention Strategies Against Dry Rot
Preventing dry rot focuses on controlling moisture and protecting wood surfaces. Maintaining paint and sealants on exterior wood is crucial to creating a moisture barrier. Prompt repair of leaks in plumbing, roofing, or gutters helps eliminate conditions favorable to fungal growth.
Proper ventilation in crawl spaces, attics, and basements reduces condensation and humidity. Avoiding direct wood-to-soil contact by using concrete or treated wood barriers also limits moisture exposure. Utilizing pressure-treated lumber or naturally rot-resistant species like cedar and redwood in exposed areas increases durability against fungal decay.
Regular maintenance routines that include cleaning gutters, inspecting downspouts, and ensuring proper grading around a building’s foundation can significantly reduce water infiltration risks. Additionally, installing vapor barriers in crawl spaces and using dehumidifiers in particularly humid environments helps maintain low moisture levels, deterring fungal growth before it begins.
Landscaping choices can also influence moisture conditions near wooden structures. Keeping vegetation trimmed away from exterior walls improves air circulation and reduces moisture retention. Avoiding planting beds or mulch directly adjacent to wood surfaces limits prolonged dampness. Thoughtful site planning and upkeep serve as proactive measures to keep wood dry and resilient.
Frequently Asked Questions About Dry Rot
What is the difference between dry rot and wet rot?
Dry rot spreads further and is more destructive because it can colonize drier wood beyond the initial moisture source. Wet rot remains confined near wet areas and does not spread extensively. Dry rot also produces a distinctive cuboid cracking pattern and mycelium, while wet rot results in softer, darker wood without the cube-like breaks.
Can dry rot spread to masonry surfaces?
Yes, dry rot fungus can extend into masonry by penetrating mortar joints with its mycelium. This can cause mortar deterioration and enable the fungus to reach other wooden components adjacent to masonry. Therefore, affected mortar may also need repair to fully control the infestation.
Is DIY repair of dry rot possible?
Small areas of superficial dry rot can sometimes be repaired with epoxy consolidants by homeowners. However, structural members compromised by dry rot require professional assessment and repair to ensure safety and code compliance. Improper repairs may allow the fungus to persist and cause further damage.
What are the typical costs of dry rot repair?
Minor repairs and treatment with preservatives typically cost between $200 and $500. Extensive structural repairs, including wood replacement and moisture source corrections, can range from $2,000 to over $10,000 depending on damage severity and complexity.
How effective is borate treatment against dry rot?
Borate treatment is highly effective in preventing dry rot and controlling early-stage fungal growth. It penetrates wood fibers and inhibits fungal enzymes, making it a valuable preservative for both prevention and treatment. However, borate treatment alone cannot fix extensive structural damage.
Conclusion
Recognizing the signs of dry rot early can save significant repair costs and preserve the safety of wooden structures. Key indicators such as dark discoloration, cuboid cracking, musty odors, and soft wood texture help identify fungal decay before it spreads extensively. Inspection using probing and moisture measurement is essential for accurate diagnosis.
Addressing moisture sources, removing affected wood, and applying appropriate treatments like borate preservatives are vital steps in managing dry rot. Prevention through proper maintenance, ventilation, and use of resistant wood types reduces the risk of fungal decay. Understanding these factors supports effective control and prolongs the lifespan of wood in buildings.