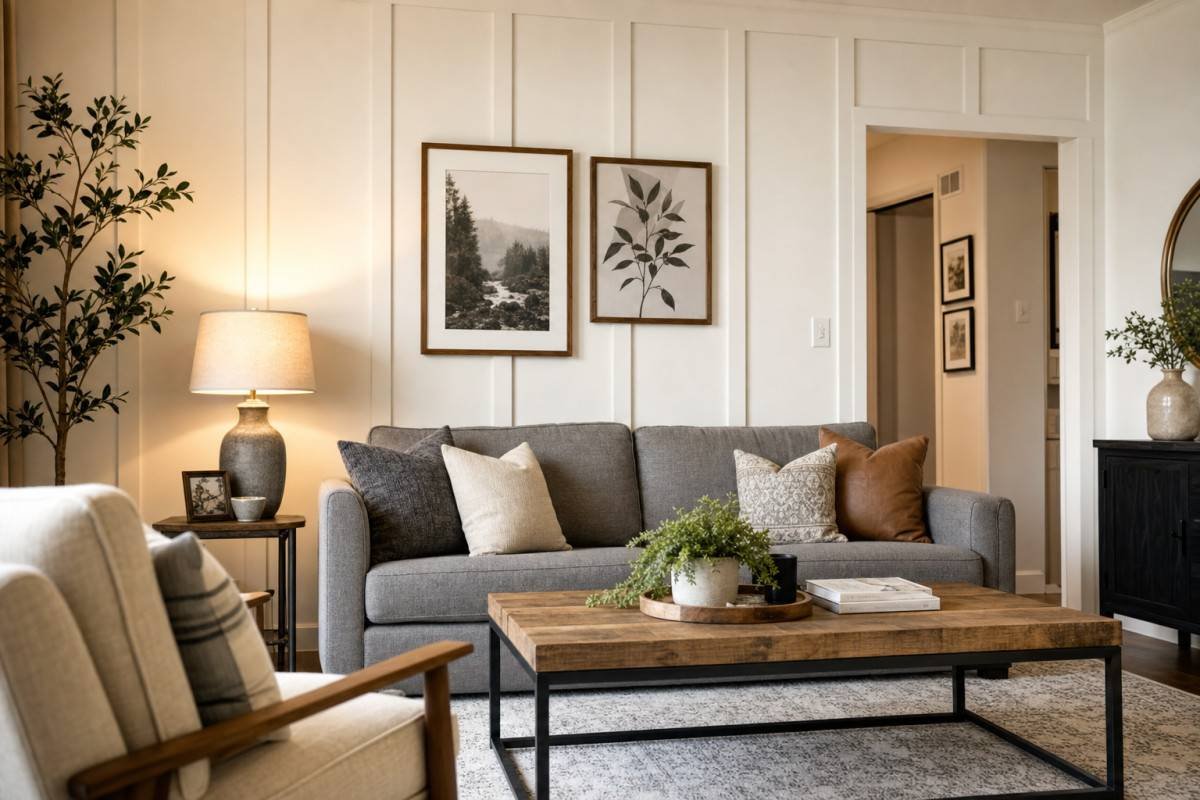
The Resurgence of Wall Paneling in Modern Interior Design
Property Manage CT professionals explain that the renewed popularity of wall paneling can be attributed to several converging trends in interior design. The rise of the farmhouse and Scandinavian aesthetic movements brought shiplap and tongue-and-groove paneling into mainstream consciousness, largely through the influence of home renovation television programs and social media platforms such as Pinterest and Instagram. Simultaneously, the growing interest in adding architectural detail to new construction homes, which are often built with flat, featureless walls, has driven demand for paneling solutions that can replicate the craftsmanship of older homes at a fraction of the cost. The availability of lightweight MDF and pre-primed boards at major home improvement retailers has also lowered the barrier to entry for DIY enthusiasts, making it possible to complete a professional-looking paneling project with basic tools and a weekend of work. Today, wall paneling is no longer confined to traditional or rustic interiors; it is equally at home in contemporary, minimalist, and transitional spaces.
Popular Types of DIY Wall Paneling
The world of DIY wall paneling encompasses a wide range of styles, each with its own distinct aesthetic and installation requirements. Understanding the differences between the most popular types will help you choose the right approach for your space and skill level.
| Paneling Style | Aesthetic | Difficulty | Avg. Cost/sq ft |
|---|---|---|---|
| Board and Batten | Farmhouse, transitional | Beginner | $1-$3 |
| Shiplap | Rustic, coastal, farmhouse | Beginner | $2-$5 |
| Wainscoting | Traditional, formal | Intermediate | $3-$8 |
| Tongue and Groove | Cottage, rustic | Beginner | $2-$6 |
| Geometric Slat Wall | Modern, contemporary | Intermediate | $4-$10 |
| Raised Panel | Traditional, formal | Advanced | $8-$20 |
Essential Tools and Materials for Paneling Projects
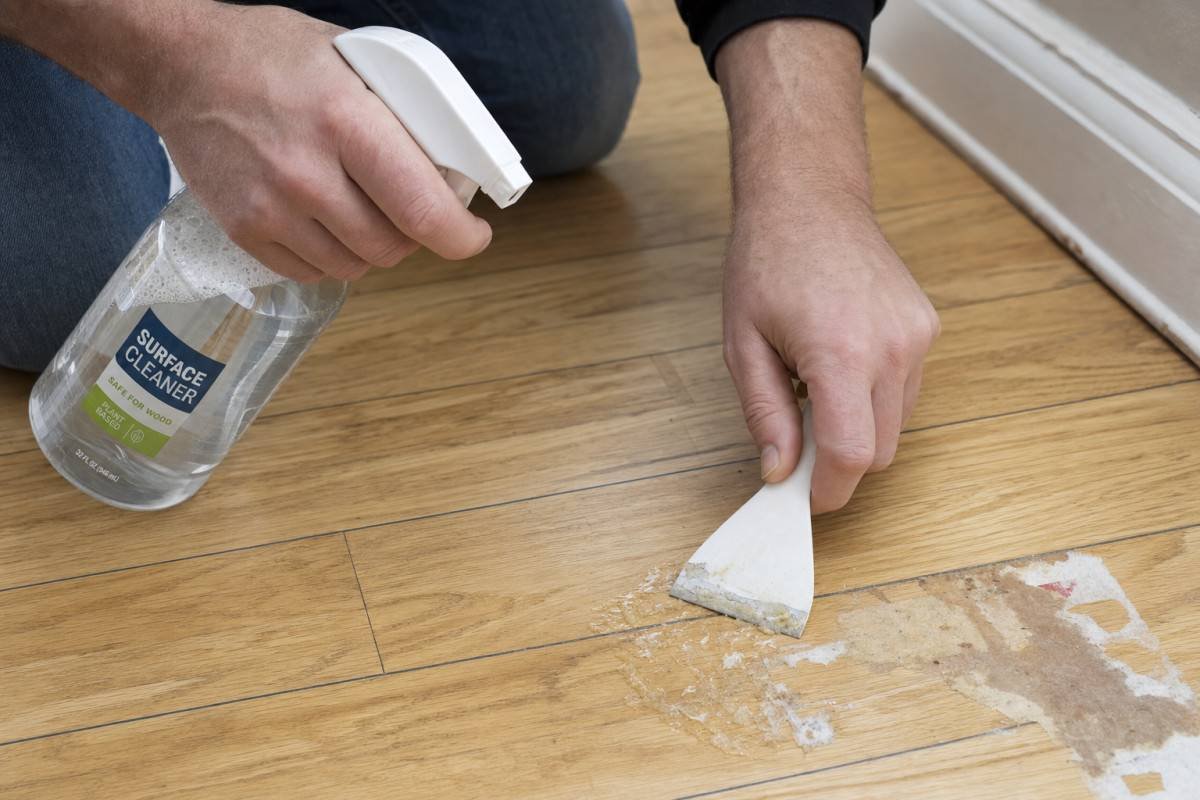
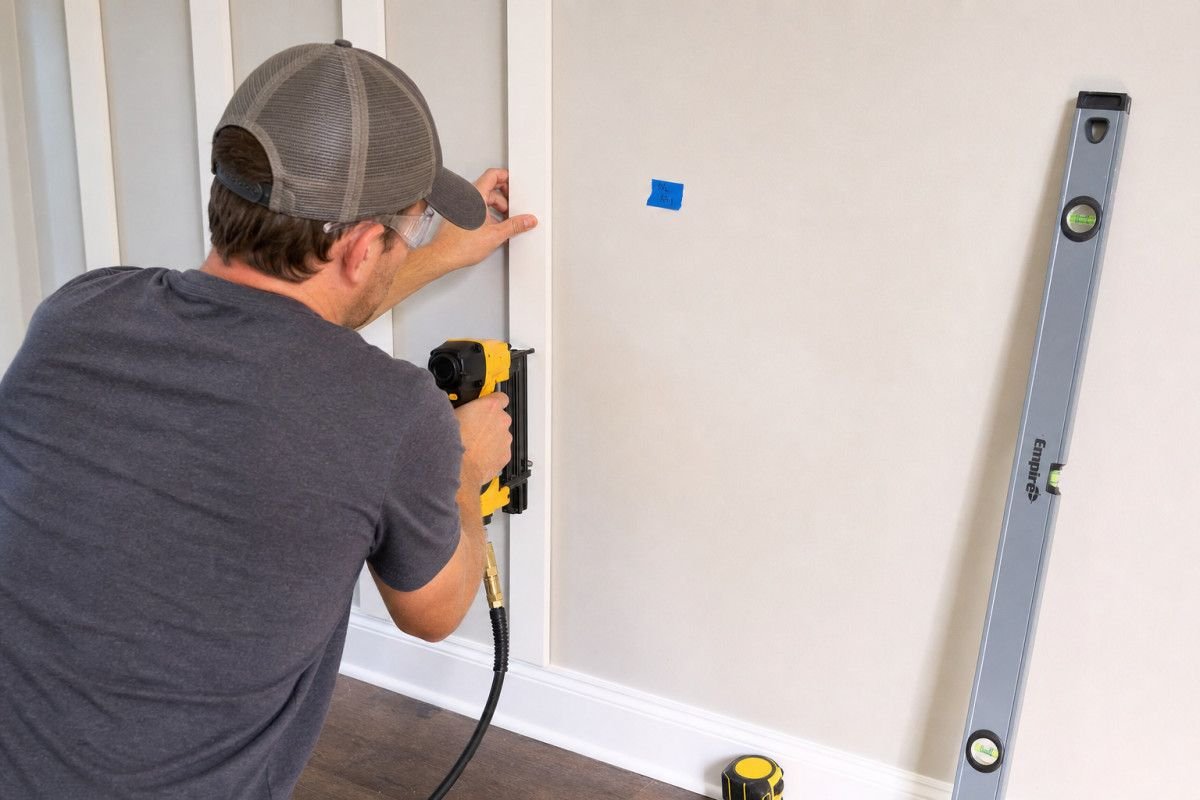
Regardless of the paneling style you choose, a core set of tools and materials will be required for most DIY wall paneling projects. A miter saw or circular saw is essential for making clean, accurate cuts in MDF and wood boards. A nail gun, either pneumatic or cordless, dramatically speeds up the installation process and produces cleaner results than hand-nailing. A level, measuring tape, and chalk line are critical for ensuring that all elements are perfectly plumb and evenly spaced. Construction adhesive such as Liquid Nails, applied to the back of each board before nailing, provides a stronger bond and helps prevent the paneling from pulling away from the wall over time. For MDF specifically, a shellac-based primer is essential before painting, as MDF is highly absorbent and will raise its grain and absorb paint unevenly without proper priming. Wood filler or caulk is used to fill nail holes and gaps before painting for a seamless, professional finish.
Step-by-Step Guide to Installing Board and Batten
Board and batten is the ideal starting point for DIY wall paneling beginners because it requires only straight cuts and basic fastening skills. Begin by measuring the wall and determining the desired spacing between battens, typically between 12 and 24 inches on center. Mark the stud locations on the wall using a stud finder, as nailing into studs provides the strongest hold. Cut the horizontal board pieces that will form the top and bottom rails of the design, and nail them to the wall at the desired height using a nail gun and construction adhesive. Next, cut the vertical batten strips to length and install them at the marked intervals, ensuring each one is perfectly plumb using a level. Fill all nail holes with wood filler, allow to dry, and sand smooth. Apply a coat of shellac-based primer to all MDF surfaces, allow to dry for two hours, and finish with two coats of your chosen paint color for a crisp, professional result.
Creating a Classic Wainscoting Look on a Budget
Traditional wainscoting, with its raised panels and elegant proportions, is often associated with high-end custom millwork that is beyond the budget of most DIY projects. However, a convincing wainscoting effect can be achieved using flat MDF sheets and applied molding strips at a fraction of the cost. The technique involves applying a sheet of MDF to the lower portion of the wall, then attaching strips of chair rail molding at the top and base cap molding at the bottom to create a framed appearance. Within the MDF field, rectangular frames of flat molding are applied to simulate the look of raised panels. When painted in a crisp white or a contrasting color to the upper wall, this budget wainscoting technique is virtually indistinguishable from custom millwork at a distance. The key to a convincing result is precise measurement, careful caulking of all joints, and a high-quality paint finish.
Modern Geometric and Slat Wall Designs
For homeowners seeking a more contemporary aesthetic, geometric and slat wall designs offer a striking alternative to traditional paneling styles. Slat walls, which consist of evenly spaced vertical or horizontal wood strips installed over a painted backing, create a dramatic three-dimensional effect that plays beautifully with light and shadow. The backing wall is typically painted in a dark or contrasting color to maximize the visual depth of the design. Geometric paneling takes this concept further, using strips of MDF or wood arranged in diamond, herringbone, or chevron patterns to create a custom, artistic wall treatment. These designs require more precise cutting and planning than simpler styles but are well within the capabilities of an intermediate DIY enthusiast with a miter saw. The finished result is a statement wall that looks custom-designed and can significantly increase the perceived value and visual appeal of a room.
Painting and Finishing Your Paneled Wall
The quality of the paint finish is what separates a professional-looking paneling installation from an amateur one. After all nail holes have been filled and sanded smooth, apply a thin bead of paintable caulk along all joints where the paneling meets the wall, ceiling, and trim. This step is critical for achieving a seamless, built-in appearance and preventing paint from cracking at the joints over time. Allow the caulk to cure according to the manufacturer’s instructions before painting. Apply a shellac-based primer to all MDF and raw wood surfaces, which seals the porous material and prevents the topcoat from soaking in unevenly. Follow with two coats of a high-quality interior latex paint in the desired sheen, using a small foam roller for flat surfaces and a brush for detail work. A satin or semi-gloss finish is recommended for paneling, as it is more durable and easier to clean than flat or matte paint.
Quick Answer: Explore creative DIY wall paneling ideas including board and batten, shiplap, wainscoting, and geometric slat walls to add texture and character to any room.
Frequently Asked Questions (FAQ)
What is the easiest DIY wall paneling for beginners?
Board and batten is considered the easiest DIY wall paneling for beginners. It requires only basic tools, simple measurements, and straight cuts, making it achievable in a weekend.
How much does DIY wall paneling cost?
DIY wall paneling typically costs between $1 and $5 per square foot for materials, depending on the type. Board and batten with MDF is the most affordable option.
Do I need to prime wall paneling before painting?
Yes, always prime MDF and wood paneling before painting. Use a shellac-based primer to prevent grain raising and ensure even paint adhesion for a professional finish.
Can I install wall paneling over existing drywall?
Yes, most DIY wall paneling can be installed directly over existing drywall using construction adhesive and finishing nails, without the need to remove the existing wall surface.
What type of wood is best for DIY wall paneling?
MDF (medium-density fiberboard) is the most popular choice for painted wall paneling due to its smooth surface, affordability, and resistance to warping.
Conclusion
Making informed decisions about diy wall paneling ideas requires careful consideration of the factors outlined in this guide. By understanding the key principles, evaluating your specific needs, and following the practical steps described above, you can achieve results that are both functional and long-lasting. Whether you are a first-time homeowner or an experienced DIY enthusiast, the information in this guide provides a solid foundation for success. Take the time to plan thoroughly, invest in quality materials, and approach each step with care, and the outcome will reflect that investment for years to come.